How To’s
Hand Deckling Prints
There are many ways to display paper prints. Having a hand deckled, or hand-torn edge offers a unique finish to your fine art prints. In this article, we are going to teach you how to hand deckle (torn, rough, or irregular) to your prints. If you already print with us all you need to do is ask that we deckle instead of cut your prints.
There are several steps we follow to ensure the best possible deckle, and with some practice, this process is not as difficult as it may seem. Not all papers work for this process. Only the 100% cotton papers tear with a nice irregular deckle.
1. Mark the edges of your borders (add crop marks)
With your file open in Photoshop, add extra white to the canvas for the amount of border you want on your final print. Add small crop marks to the corners of your file, about 1/4″ in size. You will use these crop marks to reference where you need to deckle to create straight, evenly spaced borders. If you are printing multiple copies of the image on the same sheet of paper, leave about an inch of space in between each so you have enough paper to grab onto to tear. If you want to deckle an existing print, you can also draw these crop marks by hand by carefully measuring out your borders.
2. Make reference holes (with a tack)
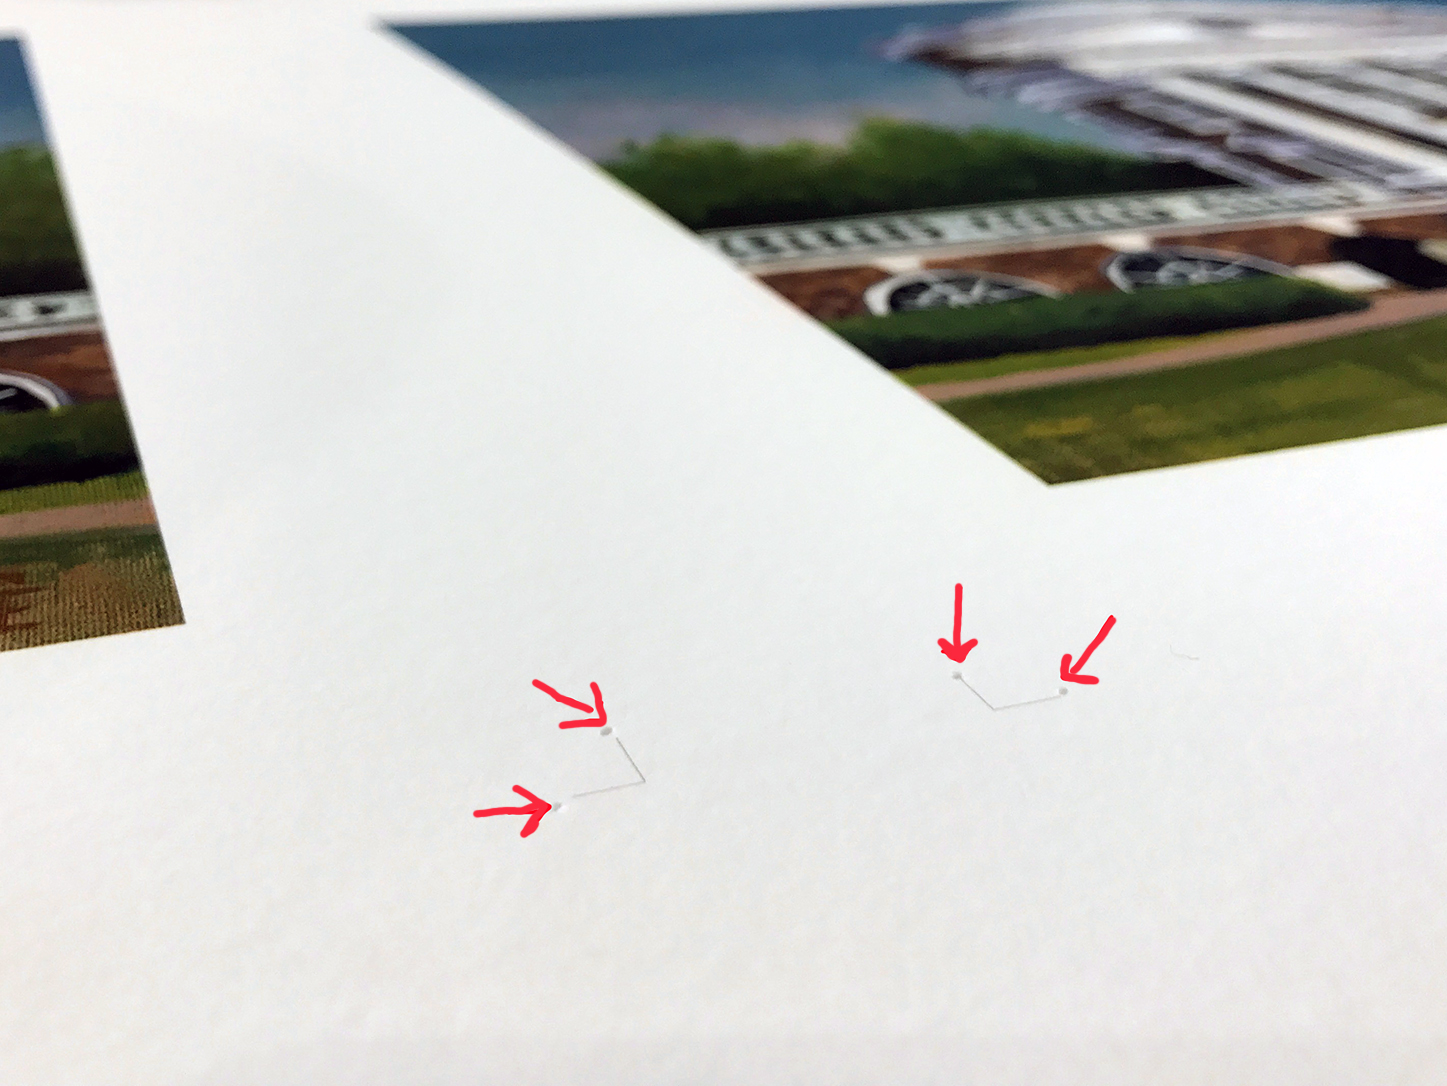
We deckle prints from the back of the paper, so we need to be able to reference where our crop marks are from the back. Using a tack, or similar small, sharp point, poke a small hole at the end of each crop mark. These holes will serve as a guide for you to line up your ruler to on the back of the print.
3. Hand tear your prints (Hand deckle)
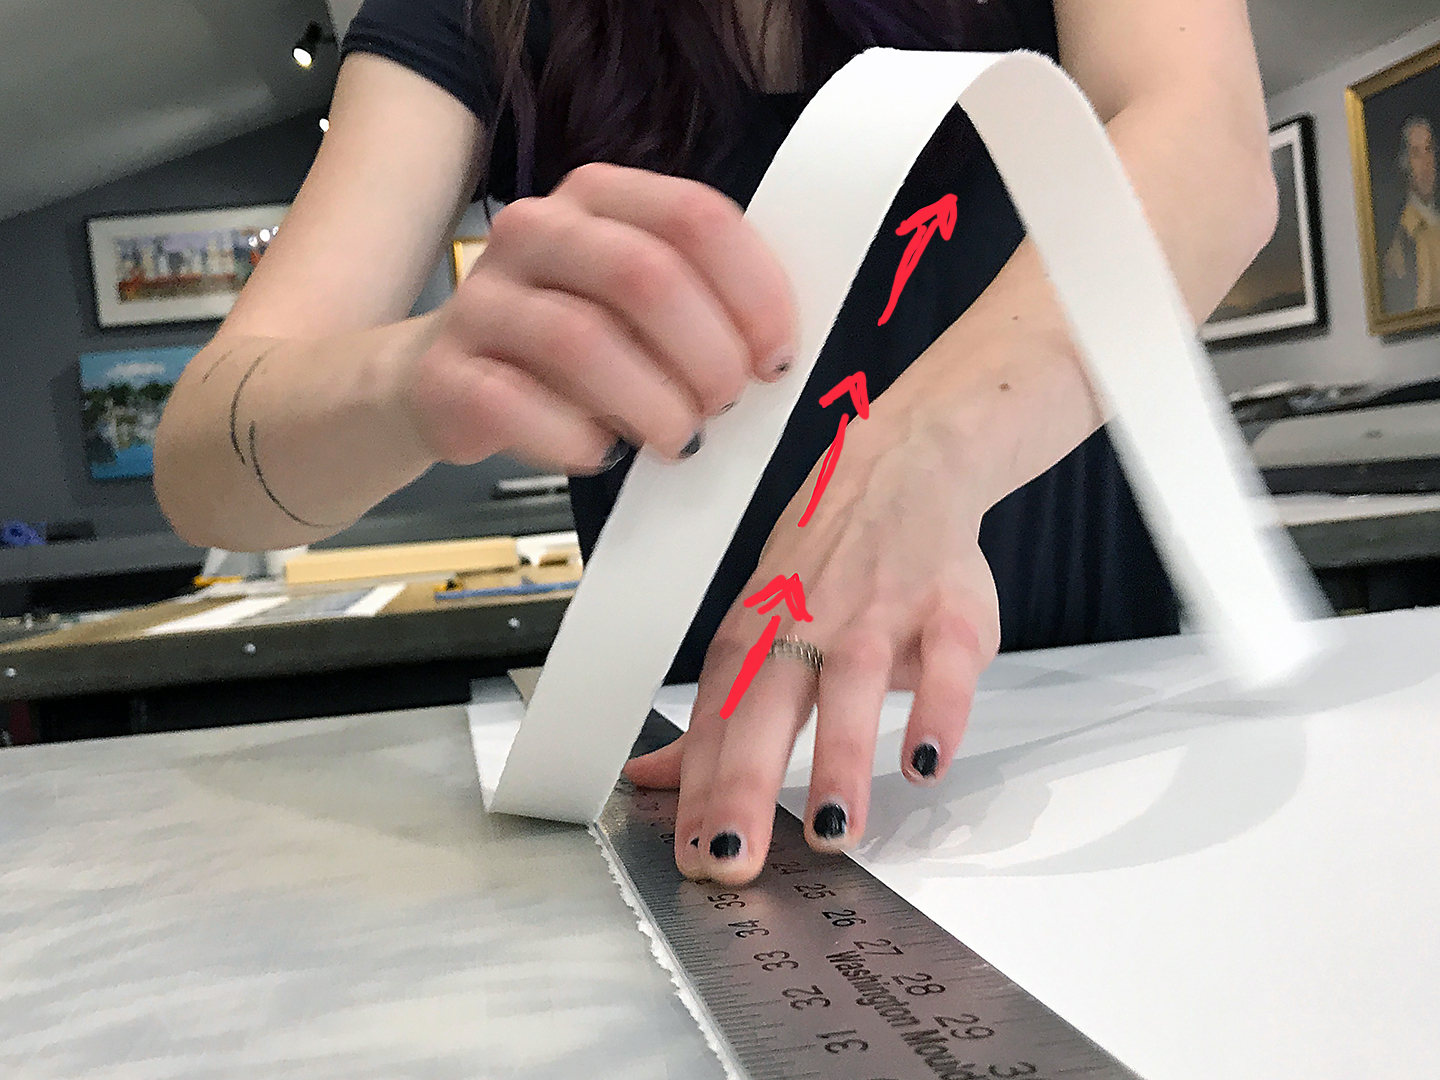
When you tear your print, only one side of the paper is going to have the polished, clean looking tear, while the other side will be a more rough, unpolished tear. The side facing down on the table is going to be the clean, polished side. Use a sturdy ruler or straight edge that won’t slide easily on the paper. A ruler with cork or felt on the back works best. Lay the ruler down just slightly inside the tack holes on one side, so that the ruler is on the side that your image is on. Hold the ruler down tightly with one hand, and with the other start to pull up the paper, pulling at a 45 degree angle tearing over the ruler. As you tear, keep moving your hand down the ruler to hold it in place, and keep moving your tearing hand down as well, so that you are always tearing with your hand close to the ruler, to ensure an even, clean tear along the whole edge. Repeat this process on the remaining three sides of your print.
If you are still having trouble with it watch our video below.
Crop marks with pin holes already punches as a reference for the ruler on the back side of the paper when you flip it to tear


